How to Edit DNS Records (A, MX, TXT, CNAME) in cPanel
 Samuel Lester
 June 20, 2025


 Samuel Lester
June 20, 2025
Samuel Lester
June 20, 2025
Essential Guide for Managing Domain and Email Settings
Editing DNS records is a fundamental task for anyone managing a website or email system. Whether you’re pointing your domain to a new server, setting up email services like Google Workspace, or adding verification records, understanding how to manage DNS records in cPanel is essential.
This guide will walk you through the steps to edit A, MX, TXT, and CNAME records directly from your cPanel account.
Before we dive into the steps, here’s a quick overview of what each DNS record does:
A Record: Points your domain or subdomain to an IP address.
MX Record: Specifies the mail server responsible for receiving email messages for your domain.
TXT Record: Used for various purposes including domain verification, SPF, DKIM, and DMARC for email authentication.
CNAME Record: Points a subdomain to another domain name instead of an IP address.
Visit yourdomain.com/cpanel and log in with your username and password.
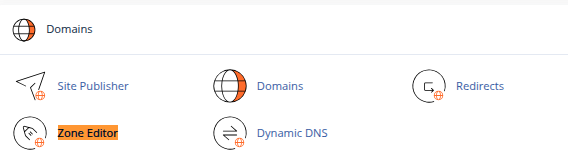
In the Domains section, click on Zone Editor. This tool allows you to manage DNS records for all domains hosted under your account.
Find the domain for which you want to edit DNS records and click Manage.
![]()
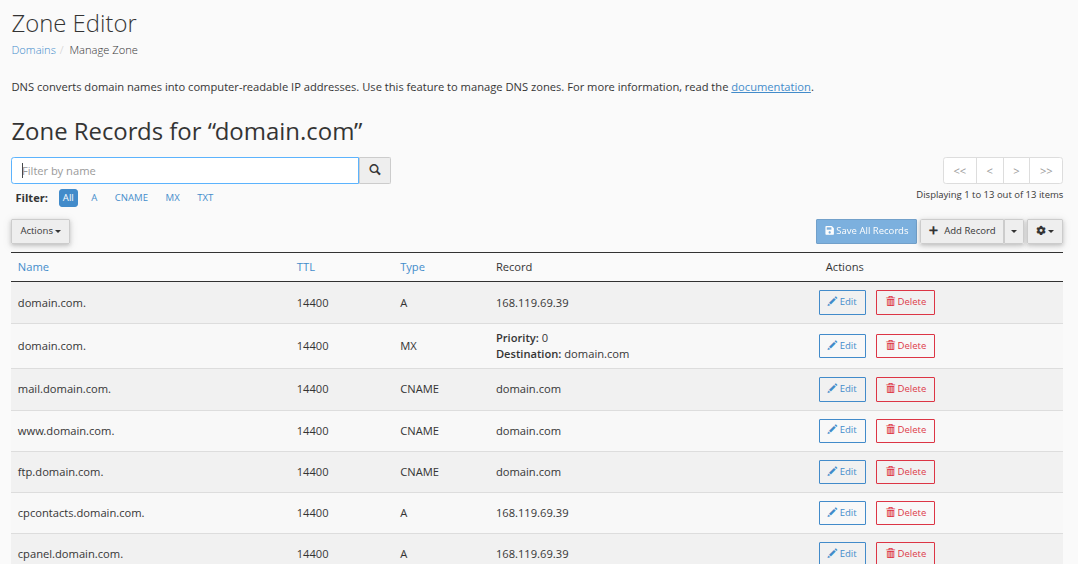
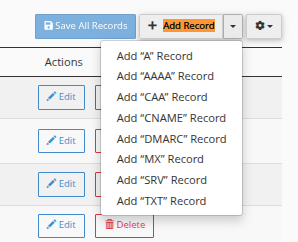
In the Zone Editor, locate an existing A record or click Add Record and choose A.
Enter the name (e.g., domain name for the root domain or www for www.yourdomain.com).
Enter the IP address you want to point to.
Click Save Record.
Example: Point yourdomain.com to 192.0.2.1.
Click Add Record and select MX.
Enter the priority (lower numbers have higher priority).
Enter the mail server’s hostname (e.g., mail.yourdomain.com or an external provider like aspmx.l.google.com).
Click Save Record.
To use a third-party email service, you may need to remove existing MX records before adding the new one.
Click Add Record and select TXT.
Enter the domain name.
Enter the TXT value, such as an SPF or verification string.
Click Save Record.
Example: Add SPF record: v=spf1 include:_spf.google.com ~all
Click Add Record and select CNAME.
Enter the name of the subdomain (e.g., blog for blog.yourdomain.com).
Enter the destination domain (e.g., sites.example.com).
Click Save Record.
Remember: CNAME records cannot be used on the root domain (e.g., yourdomain.com), only on subdomains.
DNS changes can take time: Allow up to 24 hours for propagation, although changes often take effect sooner.
Avoid duplicates: Ensure you don’t have conflicting records (e.g., multiple A records pointing the same name to different IPs).
Use proper syntax: Most hostnames must end with a dot (e.g., mail.yourdomain.com.) in some setups, though cPanel usually handles this automatically.
Keep a backup: Before making changes, take a screenshot or note down existing DNS entries.
Editing DNS records in cPanel is straightforward once you understand the basics. Whether you’re updating your site’s IP, configuring a professional email setup, or verifying your domain with a service provider, the Zone Editor tool in cPanel gives you full control.
By mastering DNS management, you gain flexibility and avoid common configuration issues that can affect email delivery or website accessibility. If you’re unsure about a record, consult with your hosting provider or DNS expert before making changes.