cPanel Hotlink Protection: What It Is and How to Enable It
 Samuel Lester
 June 28, 2025


 Samuel Lester
June 28, 2025
Samuel Lester
June 28, 2025
When other websites directly link to your images, videos, or downloadable files without hosting them themselves they’re stealing your server’s bandwidth. This is called hotlinking, and it can increase your hosting costs and slow down your site. Fortunately, cPanel offers a built-in feature called Hotlink Protection that prevents this misuse.
In this guide, we’ll explain what hotlinking is, why it’s harmful, and how you can quickly enable hotlink protection using cPanel’s graphical interface.
Hotlinking occurs when someone embeds media (like images or videos) hosted on your website directly into their own content by using your URL.
They use:
<img src="https://yourdomain.com/images/photo.jpg">
instead of hosting the image on their own server.
This means:
Access your hosting account’s cPanel dashboard.
Under the Security section, click Hotlink Protection.
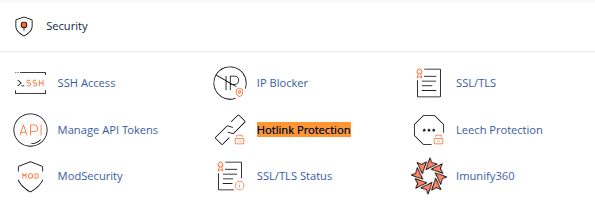
If you don’t see this option, check with your hosting provider to ensure it’s enabled on your plan.
You’ll see several fields and checkboxes:

By default, your domain is listed here. You can add subdomains or other trusted sources.
Example:
yourdomain.com
www.yourdomain.com
blog.yourdomain.com
This list allows media to be loaded when requested from these domains.
Specify the types of files you want to protect:
jpg, jpeg, png, gif, bmp, webp, svg, mp4, mp3, pdf
You can customize this list based on the media types your site serves.
Optionally, enter a URL where users will be redirected if they attempt to hotlink your content.
Example:
https://yourdomain.com/no-hotlinking.html
This page can explain why access was blocked or display a generic message.
Once you’ve filled in the appropriate fields, click Submit to apply changes.
Hotlink Protection will now be active across your site for the specified file types.
<img src="https://yourdomain.com/images/test.jpg">
Hotlinking may seem like a minor nuisance, but it can add up to real costs and lost control over your content. By enabling Hotlink Protection in cPanel, you create a simple but effective barrier that stops others from misusing your media.
In just a few clicks, you can preserve bandwidth, protect your brand, and ensure your server resources are reserved for legitimate traffic.