How to Migrate a Website Using cPanel Full Backup & Restore
 Samuel Lester
 June 24, 2025


 Samuel Lester
June 24, 2025
Samuel Lester
June 24, 2025
Migrating a website from one hosting provider to another can seem daunting, especially when uptime and data integrity are critical. But if both your old and new hosting environments use cPanel, the process becomes significantly easier. One of the most efficient methods is using the Full Backup & Restore method, which ensures all files, databases, email accounts, and configurations are preserved during the move.
In this guide, we’ll walk you through each step of the process from generating the backup to restoring it on the new server.
Access to the source cPanel account (old server)
Access to the destination WHM or cPanel (new server)
Enough disk space on both ends
Optional: SSH or root access for faster restoration
Log into your cPanel account on the old server.
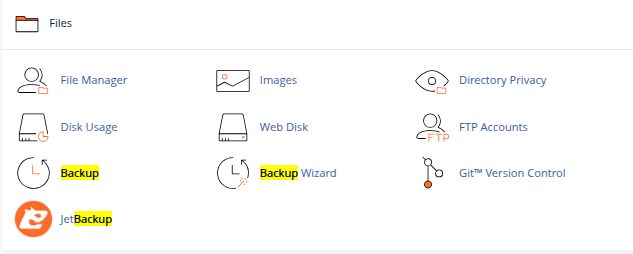
Go to Files > Backup.
Under “Full Backup,” click Download a Full Account Backup.
Choose Home Directory as the backup destination.
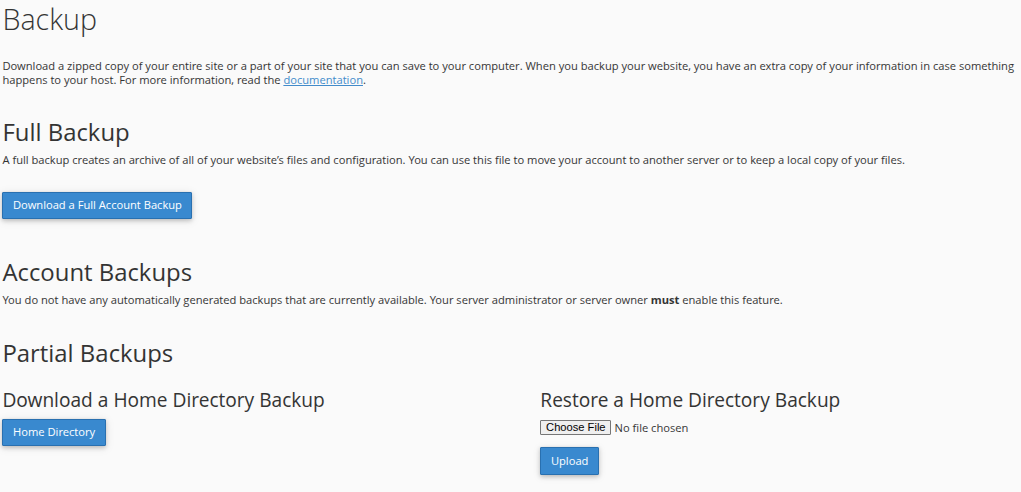
Optionally, enter your email address to get notified when the backup is complete.
Click Generate Backup.
This will include:
All website files
MySQL databases
Email accounts and forwarders
DNS settings
Cron jobs and configurations
Note: This method does not restore to another cPanel user account. You’ll need WHM or root access on the destination to restore it completely.
Once the backup is complete:
Go back to the Backups section in cPanel.
Under Available Backups, download the .tar.gz file to your local system or transfer it via FTP/SCP directly to the new server.
If you have WHM access:
Log into WHM on the destination server.
Navigate to Backup Restoration > Restore a Full Backup/cpmove file.

Either:
Upload the .tar.gz file manually
Or move it to /home or /root directory using SSH
Make sure the file is named correctly:cpmove-username.tar.gz or username.tar.gz
In WHM, go to Backup Restoration.
Select the backup file and click Restore.
Choose to restore:
Account files
Databases
DNS entries
Email accounts
Start the restoration process.
This will recreate the cPanel account exactly as it was on the old server.
Optional: If you’re restoring multiple accounts, consider using the Transfer Tool in WHM instead.
Before making the site live from the new server:
Preview the site using a temporary URL or hosts file trick
Verify databases, images, links, and forms
Confirm email accounts and mail delivery
Check DNS zone records if they were custom
Once confirmed:
Update your domain’s nameservers to the new hosting provider’s
Or update the A record to point to the new IP
Allow up to 24–48 hours for full DNS propagation, although changes usually reflect within a few hours.
Delete old backups to save space
Cancel or decommission the old hosting account after verifying migration
Monitor site performance and functionality for a few days
| Issue | Solution |
|---|---|
| Wrong file/folder permissions | Use Fix Permissions script or set via File Manager |
| Email not working | Double-check MX records and email clients |
| Website loading old data | Clear browser, server, and CDN caches |
| 500 Internal Server Error | Check .htaccess and PHP version compatibility |
Migrating a website using cPanel Full Backup & Restore is one of the most reliable ways to ensure a seamless move with minimal downtime. It gives you a complete snapshot of your site and configurations, making restoration clean and efficient especially when WHM access is available.
Whether you’re switching hosting providers for performance, cost, or support reasons, this method ensures nothing gets left behind.