How to Create and Manage Email Accounts in cPanel (Step-by-Step Guide)
 Samuel Lester
 June 13, 2025


 Samuel Lester
June 13, 2025
Samuel Lester
June 13, 2025
Email is the heartbeat of communication for businesses and individuals alike. Whether you’re running a personal blog or a full-scale e-commerce website, having a professional email address (like info@yourdomain.com) adds credibility to your brand.
Thanks to cPanel, managing email accounts on your hosting server is simple and intuitive. In this blog, we’ll walk you through how to create, access, and manage email accounts in cPanel—with screenshots and best practices along the way.
Before we begin, make sure you have:
Access to your cPanel account
A domain name added to your hosting
A working internet connection
Open your browser and go to:https://yourdomain.com/cpanel
(or login via your hosting provider’s dashboard)
Enter your username and password provided by your host.
Once logged in:
Scroll down to the EMAIL section.
Click on Email Accounts.

Click the “Create” button on the right-hand side.
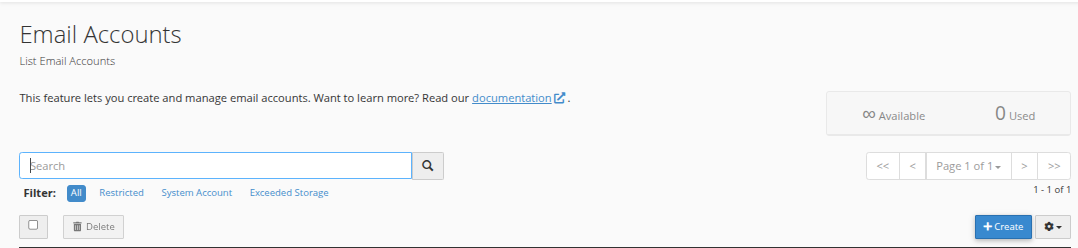
Fill out the following fields:
Domain: Select your domain from the dropdown.
Username: This will be the prefix (e.g., john becomes john@yourdomain.com).
Password: Choose a strong password or use the generator.
Storage Space: Set a quota (e.g., 500MB) or select unlimited.
Click “Create” at the bottom.

You’ll now see the new email account listed under “Email Accounts.”
You can now check your emails in two ways:
Go to Email Accounts.
Click Check Email next to your account.
![]()
Choose your webmail client (Roundcube is recommended).
Visit:https://yourdomain.com:2096
Log in with your full email address and password.
Want to use Outlook, Thunderbird, or your phone?
Go to Email Accounts.
Click Connect Devices next to your email address.
You’ll see settings like:
Incoming Server: mail.yourdomain.com (IMAP or POP3)
Outgoing Server: mail.yourdomain.com (SMTP)
Ports and security types
Copy these into your mail app and you’re good to go!
From the Email Accounts page, you can:
Change Password – Reset if forgotten or compromised.
Adjust Quota – Increase or decrease mailbox size.
Delete Account – Remove old or unused addresses.
Access Webmail – One-click login to webmail.
Always use strong passwords and enable two-factor authentication if your host supports it.
Set up email filters or SPF/DKIM/DMARC records for better deliverability.
Regularly monitor mailbox usage to avoid hitting storage limits.
Use auto-responders and forwarders for better communication workflows.
Creating and managing email accounts in cPanel is a straightforward process that empowers you with professional communication tools. Whether you’re running a single website or managing multiple domains, cPanel makes it easy to handle all your email needs under one roof.
At EglueWeb, we help hosting companies and website owners not just set up emails, but secure and scale them. If you’re facing any cPanel issues or need white-label support, we’ve got your back.